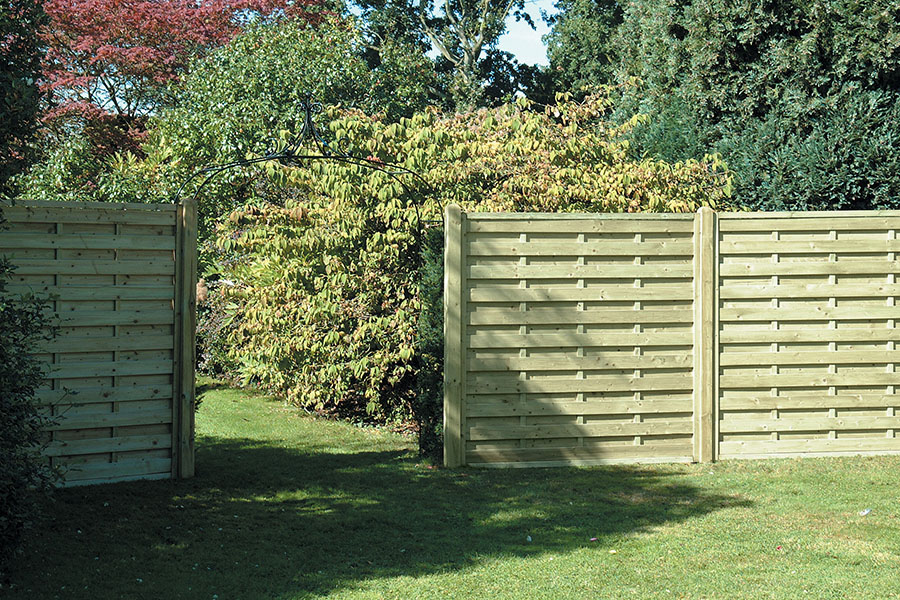
Square Horizontal Fence Panels
€125.00
Description
Quick Facts
Product Name: Square Horizontal Fence Panel
Material: Pressure-treated timber
Panel Type: Horizontal board fencing
Dimensions: 180cm × 180cm
Board Orientation: Horizontal slats
Frame: Planed timber construction
Finish: Natural pressure-treated timber (can be painted or stained)
Durability: Pressure-treated for long-lasting outdoor use
Fixings: Fixings not included (posts and concrete/post spikes required)
Description
The Square Horizontal Fence Panel is built for gardens that need clean lines and a contemporary feel. The horizontal board orientation gives it a modern, streamlined look that works beautifully in both traditional and contemporary settings—it’s simple, unfussy, and lets the quality of the timber do the talking.
At 180cm × 180cm, it’s a full-height panel that provides solid privacy and wind protection without feeling heavy or oppressive. The horizontal slats create strong visual lines that draw the eye along the fence line, making boundaries feel longer and gardens feel wider—particularly useful in smaller or narrow spaces.
The planed timber construction means smooth, even boards with no rough edges or splinters. The pressure-treated finish is built for outdoor life, weathering to a soft silver-grey if left natural, or taking paint and stain beautifully if you want the fence to stand out or blend into a specific colour scheme.
This is a panel that brings structure and privacy with a clean, modern aesthetic. It’s the kind of fencing that looks intentional and well-made, whether you’re enclosing a whole garden, screening a patio, or creating defined zones within a larger space.
Caragh Garden Notebook
Installation
Post Requirements:
- Post size: 100mm × 100mm minimum (90mm finished if planed)
- Post height: 2.4m minimum (allows 60–75cm below ground, 180cm panel height, plus clearance)
- Post spacing: 180cm centre to centre (to match panel width)
- Post type: Standard fence posts or planed & ribbed posts for a more refined finish
Ground Preparation:
Concrete Footings (Recommended):
- Dig post holes: 30cm × 30cm × 60–75cm deep
- Add 10–15cm of compacted hardcore or gravel for drainage
- Position post in hole, checking it’s plumb (vertical) and correctly aligned
- Use temporary bracing to hold the post upright
- Mix postcrete or standard concrete and fill around the post
- Tamp down to remove air pockets; slope the surface slightly away from the post to shed water
- Allow 48–72 hours to cure fully before fixing panels
- Essential for corner posts, end posts, and any posts under load
Ground Spikes (Quick Installation):
- Use heavy-duty metal post spikes (minimum 75cm long, rated for 100mm posts)
- Drive spikes into firm, level ground using a sledgehammer and protective block
- Check alignment and level before inserting posts
- Best for lawns or firm soil; not suitable for soft or stony ground
- Not recommended for exposed sites or long fence runs
Fixing Panels to Posts:
- Position the panel between two posts, resting it on gravel boards or bricks (5–10cm clearance from ground level to prevent rot)
- Check the panel is level using a spirit level
- Fix the panel to posts using galvanised fence panel brackets or screws
- Use a minimum of two fixings per side (top and bottom) for panels up to 1.8m; three fixings for taller installations
- Pre-drill screw holes to prevent splitting
- Ensure panels are secure but not over-tightened (timber expands and contracts seasonally)
Gravel Boards:
Install gravel boards (15cm × 180cm treated timber boards) along the base of the fence to protect panels from ground contact and moisture. Fix gravel boards to posts using galvanised screws; rest panels on top of the gravel boards.
Install gravel boards (15cm × 180cm treated timber boards) along the base of the fence to protect panels from ground contact and moisture. Fix gravel boards to posts using galvanised screws; rest panels on top of the gravel boards.
Assembly Tips:
- Work with a second person—panels are heavy and awkward to position alone
- Install corner and end posts first, then intermediate posts
- Use string lines between posts to ensure alignment
- Check posts are plumb and panels are level throughout installation
- Allow concrete to cure fully before fixing panels
Maintenance
Initial Treatment:
- Panels arrive pressure-treated and ready to install
- For enhanced protection, allow timber to weather for 6–12 months before painting or staining
- Clean with a stiff brush; apply exterior-grade timber preservative, decking oil, or wood stain
- Pay particular attention to cut ends and the top edge where water can collect
Annual Maintenance:
- Spring: Inspect panels and posts for stability; check fixings and tighten if needed
- Treatment: Apply a fresh coat of preservative, oil, or stain annually to maintain colour and protection
- Cleaning: Remove debris, moss, or algae from horizontal slats (water can collect on top of boards)
- Ground contact: Ensure gravel boards are doing their job; replace if rotting
- Vegetation: Trim back plants growing against the fence to maintain airflow and prevent moisture build-up
Longevity:
With proper installation (concrete footings, gravel boards) and annual treatment, expect 10–15 years of service. The horizontal board design can collect water on top of slats, so regular treatment is important for longevity.
With proper installation (concrete footings, gravel boards) and annual treatment, expect 10–15 years of service. The horizontal board design can collect water on top of slats, so regular treatment is important for longevity.
Additional information
| Size | 180cm W x 180cm H |
|---|
Customers also purchased...

Related products
-
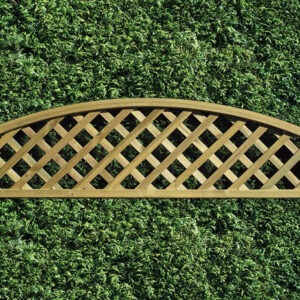
Heavy Diamond Lattice Trellis Panels
Price range: €30.00 through €110.00 Select options This product has multiple variants. The options may be chosen on the product page -
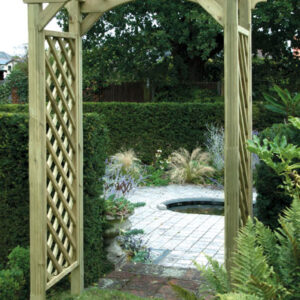
Lattice Garden Arch
€265.00 Select options This product has multiple variants. The options may be chosen on the product page -
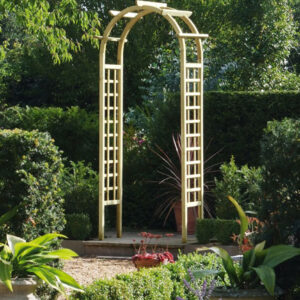
Rose Arch
€145.00 Select options This product has multiple variants. The options may be chosen on the product page -
Apex Roof Shed –Small Sizes
Price range: €600.00 through €1,350.00 Select options This product has multiple variants. The options may be chosen on the product page