

Smooth Planed Pine Posts
Price range: €24.50 through €32.50
Description
Quick Facts
Product Range: Smooth Planed Pine Posts
Material: Pressure-treated pine timber
Post Type: Fence and garden posts with smooth planed finish
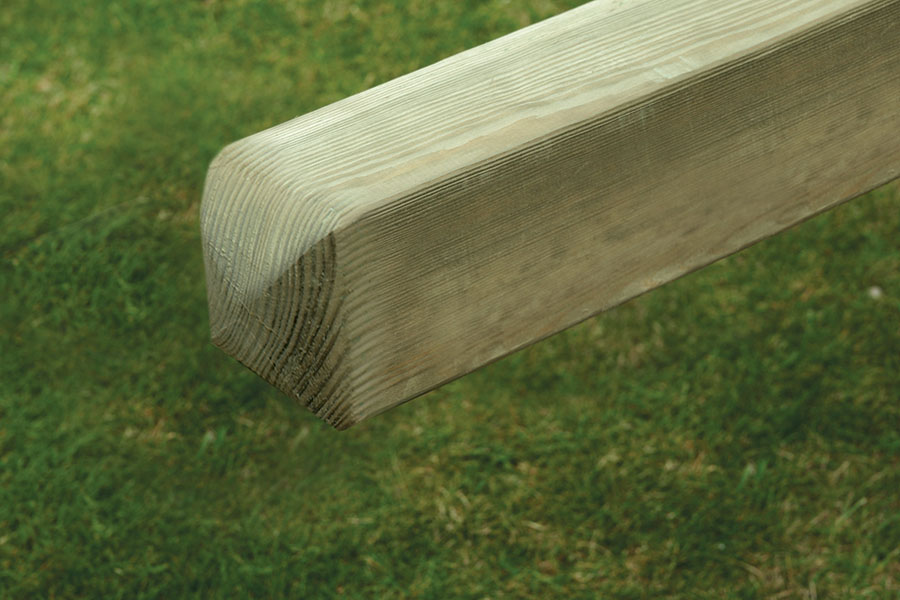
Top Design: Smooth 4 way rounded top
Finish: Planed all round (PAR), natural pressure-treated (can be painted or stained)
Durability: Pressure-treated for long-lasting outdoor use
Fixings: Fixings not included (concrete or post spikes recommended)
Material: Pressure-treated pine timber
Post Type: Fence and garden posts with smooth planed finish
Top Design: Smooth 4 way rounded top
Finish: Planed all round (PAR), natural pressure-treated (can be painted or stained)
Durability: Pressure-treated for long-lasting outdoor use
Fixings: Fixings not included (concrete or post spikes recommended)
Available Sizes
Standard Posts
100mm × 100mm × 1.8m
- Finished size after planing: 90mm × 90mm × 1.8m
- Use: Standard fencing up to 1.2m high, lightweight gate posts (gates up to 90cm wide), pergola supports, garden structures
100mm × 100mm × 2.4m
- Finished size after planing: 90mm × 90mm × 2.4m
- Use: Taller fencing (up to 1.8m high), substantial gate posts (gates up to 120cm wide), pergola posts, larger garden structures
‘H’ Post
100mm × 100mm × 2.4m ‘H’ Post
- Finished size after planing: 90mm × 90mm × 2.4m
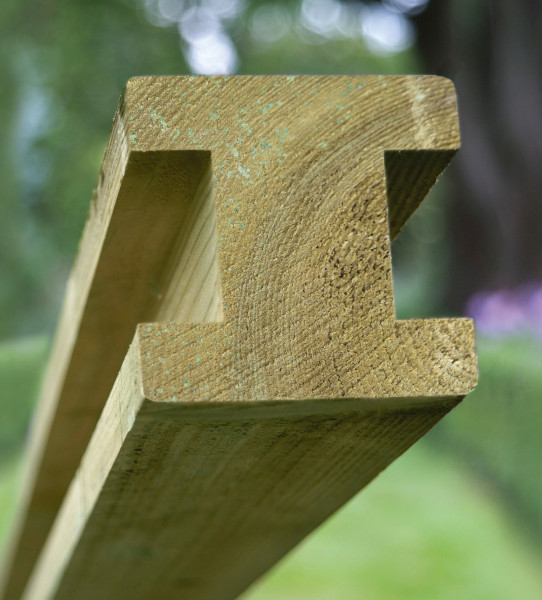
- Features: Recessed channels on two opposite faces for slotting fence panels or gravel boards
- Use: Intermediate fence posts (panels slot into channels), gravel board support, modular fencing systems
- Square both ends
Description
Smooth Planed Pine Posts are the straightforward, no-nonsense choice for fencing and garden structures where you want clean, well-made timber without decorative detailing. Planed all round (PAR) means every surface is smooth and even—no rough edges, no splinters, just solid timber that’s easy to work with and looks neat from every angle.
The planing process reduces the nominal size slightly (100mm becomes 90mm), but the result is timber that takes fixings cleanly, accepts paint and stain beautifully, and presents a professional finish whether you’re building a fence, installing a gate, or constructing a pergola.
The pressure-treated pine is built for outdoor life. Left natural, it weathers to a soft silver-grey that blends quietly into the garden. Painted or stained, it holds colour well and becomes part of your design scheme—crisp white for traditional gardens, dark charcoal for contemporary spaces, or soft greens and greys to complement planting.
The ‘H’ post is particularly useful for panel fencing. The recessed channels on two opposite faces allow fence panels or gravel boards to slot neatly into place, creating a clean, professional finish without the need for brackets or complex fixing. It’s the kind of practical detail that makes installation easier and the finished result look intentional and well-crafted.
Whether you’re replacing old fence posts, building a new boundary, or creating garden structures, these posts bring that combination of strength, clean finish, and reliability that makes the difference between a job done and a job done well.
Caragh Garden Notebook
Installation
Choosing the Right Post:
-
100mm × 100mm × 1.8m (90mm finished): Standard fencing up to 1.2m high, lightweight gate posts (gates up to 90cm wide), small pergola supports, arbour posts, garden edging.
-
100mm × 100mm × 2.4m (90mm finished): Taller fencing (up to 1.8m high), substantial gate posts (gates up to 120cm wide), pergola posts, larger garden structures.
-
100mm × 100mm × 2.4m ‘H’ Post (90mm finished): Intermediate fence posts for panel fencing systems. Panels slot into the recessed channels for a clean, bracket-free finish. Also used for gravel board support. Square both ends.
Post Spacing:
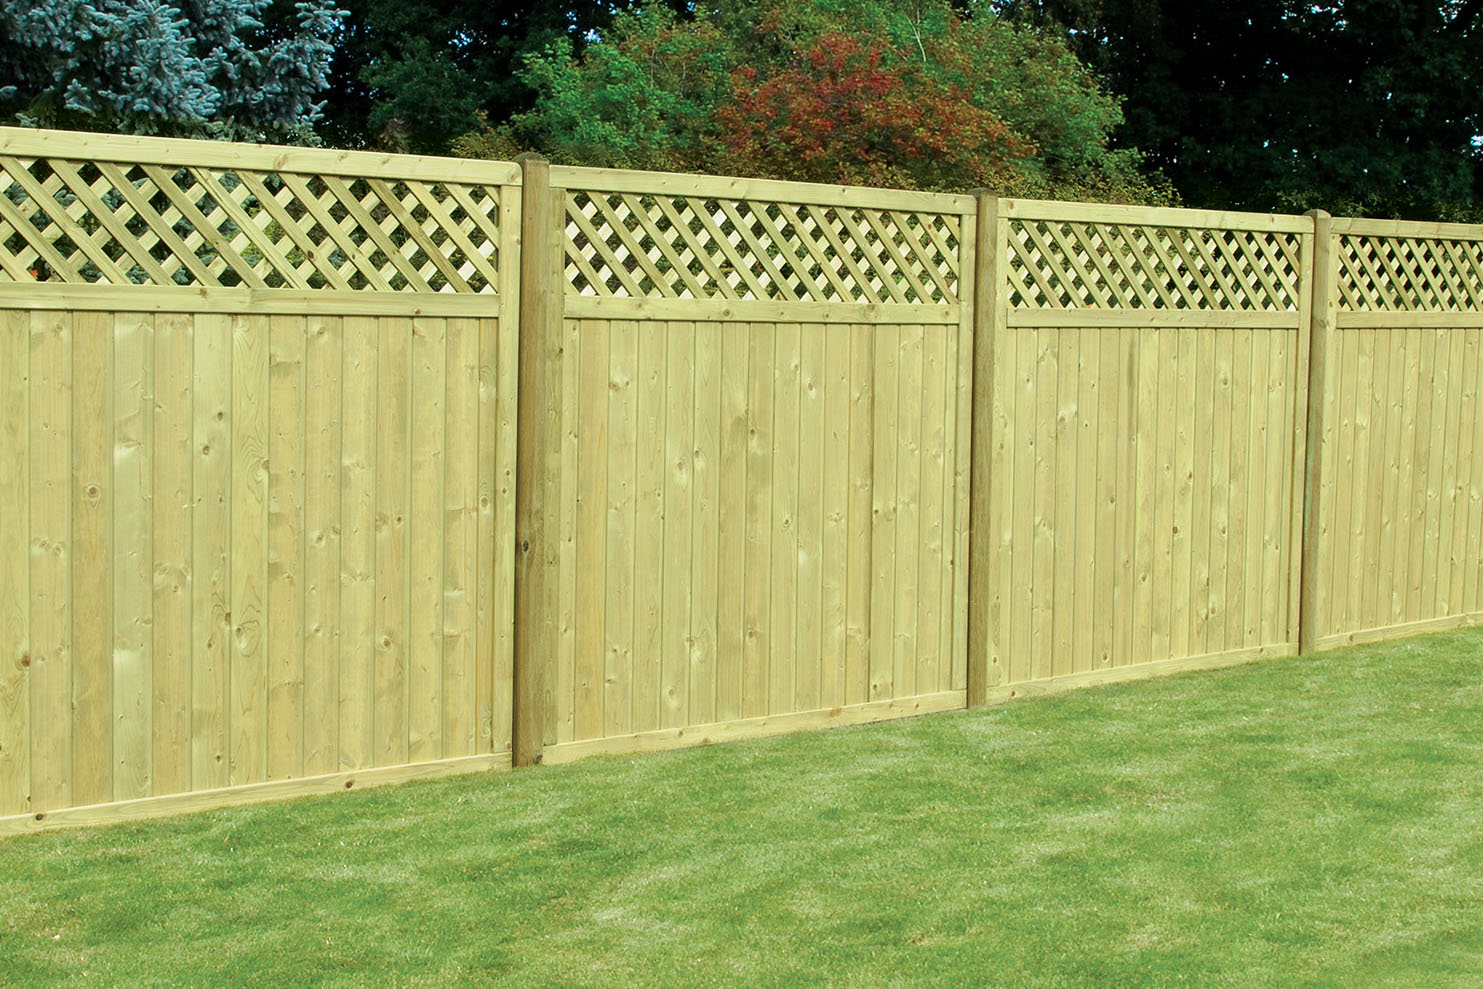
- Fence panels: Space posts to match panel width (typically 1.8m)
- Gates: Position gate posts to suit gate width plus clearance for hinges and latch (typically gate width + 10–15cm)
- Pergolas/arbours: Space according to design (typically 2.1–3.6m apart)
Ground Preparation:
Concrete Footings (Recommended):
- Dig post holes: 30cm × 30cm × 60cm deep for 1.8m posts; 30cm × 30cm × 75cm deep for 2.4m posts
- Add 10–15cm of compacted hardcore or gravel for drainage
- Position post in hole, checking it’s plumb (vertical) and correctly aligned
- Use temporary bracing to hold the post upright
- Mix postcrete or standard concrete and fill around the post
- Tamp down to remove air pockets; ensure good contact with the post
- Slope the concrete surface slightly away from the post to shed water
- Allow 48–72 hours to cure fully before fixing panels, rails, or gates
- Essential for gate posts, corner posts, and any posts under load
Ground Spikes (Quick Installation):
- Use heavy-duty metal post spikes (minimum 75cm long, rated for 100mm posts)
- Drive spikes into firm, level ground using a sledgehammer and protective block
- Check alignment and level before inserting posts
- Best for lawns or firm soil; not suitable for soft, stony, or clay-heavy ground
- Not recommended for gate posts or posts under significant load
Installing ‘H’ Posts for Panel Fencing:
- Set ‘H’ posts in concrete (ground spikes not recommended for panel fencing)
- Ensure the recessed channels are aligned correctly (facing the direction panels will slot into)
- Check posts are plumb and at the correct height before concrete sets
- Allow concrete to cure fully before slotting panels into place
- Panels should slot snugly into channels; secure with galvanised screws if needed for extra stability
Fixing Rails, Panels, or Gates:
- Use galvanised screws or bolts throughout for longevity
- Pre-drill all screw holes to prevent splitting, especially near post ends
- For gates, use heavy-duty hinges and latches rated for the gate weight
- For pergola rails or cross-beams, use coach screws (minimum 8mm diameter × 100mm long) or metal brackets
Maintenance
Initial Treatment:
- Posts arrive pressure-treated and ready to install
- For enhanced protection, allow timber to weather for 6–12 months before painting or staining
- Clean with a stiff brush; apply exterior-grade timber preservative, decking oil, or wood stain
- Pay particular attention to cut ends and the top of the post where water can collect
- Consider fitting post caps to protect the square-cut top from water ingress
Annual Maintenance:
- Spring: Inspect posts for stability; check fixings and tighten if needed
- Treatment: Apply a fresh coat of preservative, oil, or stain annually to maintain colour and protection
- Cleaning: Remove debris, moss, or algae from post surfaces
- Ground contact: Ensure posts aren’t sitting in waterlogged soil or mulch piled against them
- Post caps: Check caps are secure and doing their job of shedding water
Longevity:
With proper installation (concrete footings) and annual treatment, expect 15–20 years of service. Adding post caps to protect the square-cut top significantly extends lifespan by preventing water sitting on the end grain.
With proper installation (concrete footings) and annual treatment, expect 15–20 years of service. Adding post caps to protect the square-cut top significantly extends lifespan by preventing water sitting on the end grain.
Additional information
| Size | 100mm x 100mm x 1.8m, 100mm x 100mm x 2.4m, 100mm x 100mm x 2.4m H Post |
|---|
Customers also purchased...
Related products
-
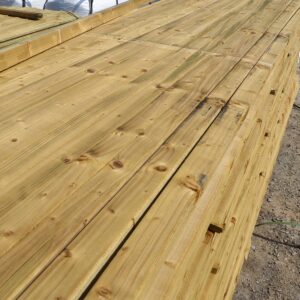
Treated Timber 4.8m
Price range: €12.00 through €13.50 Select options This product has multiple variants. The options may be chosen on the product page -
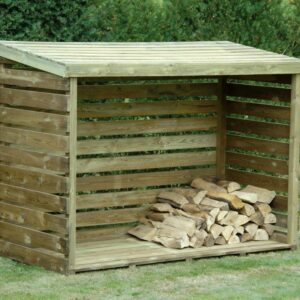
Log Store
€465.00 Add to cart -
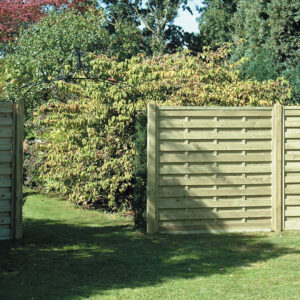
Square Horizontal Fence Panels
€125.00 Select options This product has multiple variants. The options may be chosen on the product page -
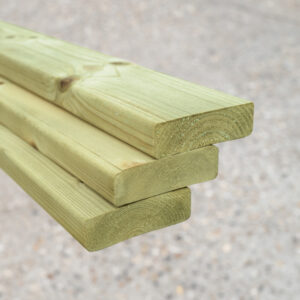
Planed Battening
Price range: €5.50 through €6.50 Select options This product has multiple variants. The options may be chosen on the product page